Let’s create a simple music doorbell using a button and a passive buzzer! When a guest presses the doorbell button, the music will play.
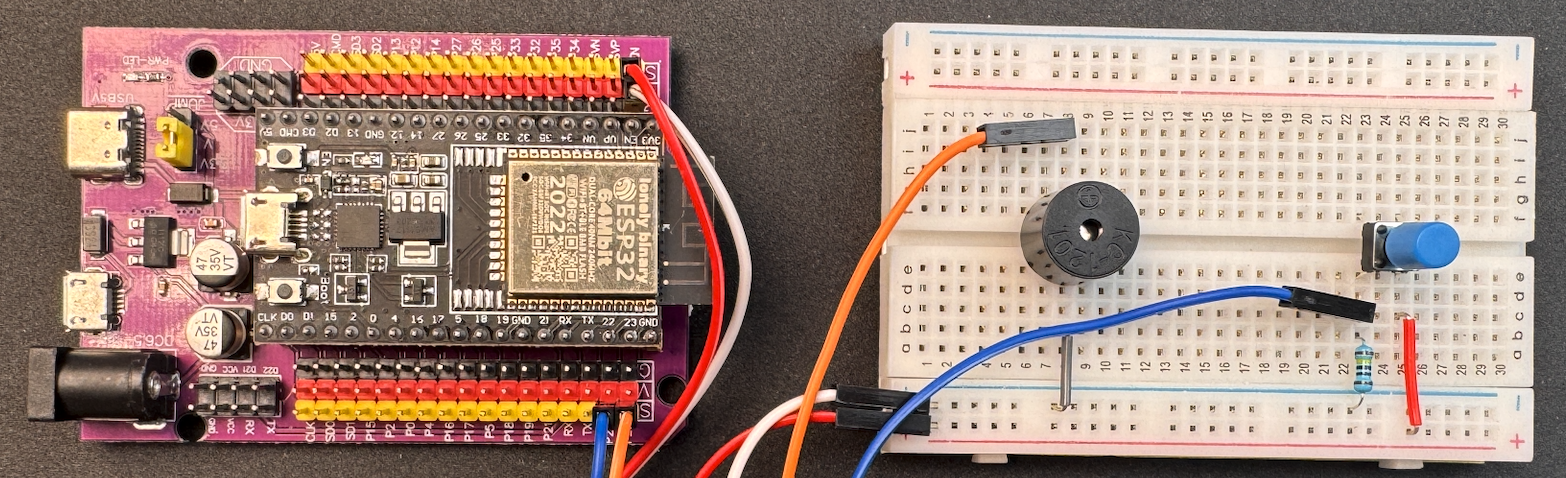

Wiring Instructions:
- Buzzer:
- Connect the buzzer’s negative (-) terminal to GND.
- Connect the buzzer’s positive (+) terminal to ESP32 GPIO23.
- Button:
- Connect one terminal of the button to ESP32 GPIO22.
- Connect the other terminal of the button to 3.3V.
- Since pressing the button sets GPIO22 to HIGH, use a 10K pull-down resistor to ensure the default state is LOW when the button is not pressed.
With this setup, the buzzer will play music whenever the button is pressed.
You can write your own music or using any classic music from arduino-songs collection in github. https://github.com/robsoncouto/arduino-songs
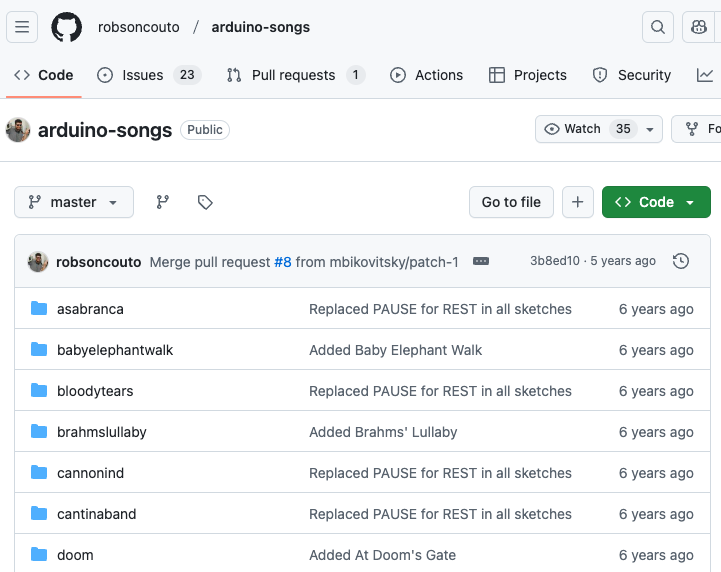
Choose your favourite song from arduino-songs library. Let’s update the code to implement the functionality of the doorbell.
At the top of the code, add this line to define the button pin using ESP32 GPIO22.
Find this line, and change the buzzer uses ESP32 GPIO23.
Relocate all the code from the setup() function into a new playMusic() function, then add this function above the existing setup() function.
In the setup function, configure the button pin as an input. In the loop function, check if the button is pressed, and if it is, call playMusic() to play the song.
At this point, our music doorbell is fully implemented. Now, you might wonder: what if we could press the button again while the music is playing to stop it? Next, let’s try to implement this feature.
In the playMusic(), there is a for loop which loop the melody and play each note. All we have to do is to add the following code just before the for loop ending. If the buttons is press, break the for and quite.


