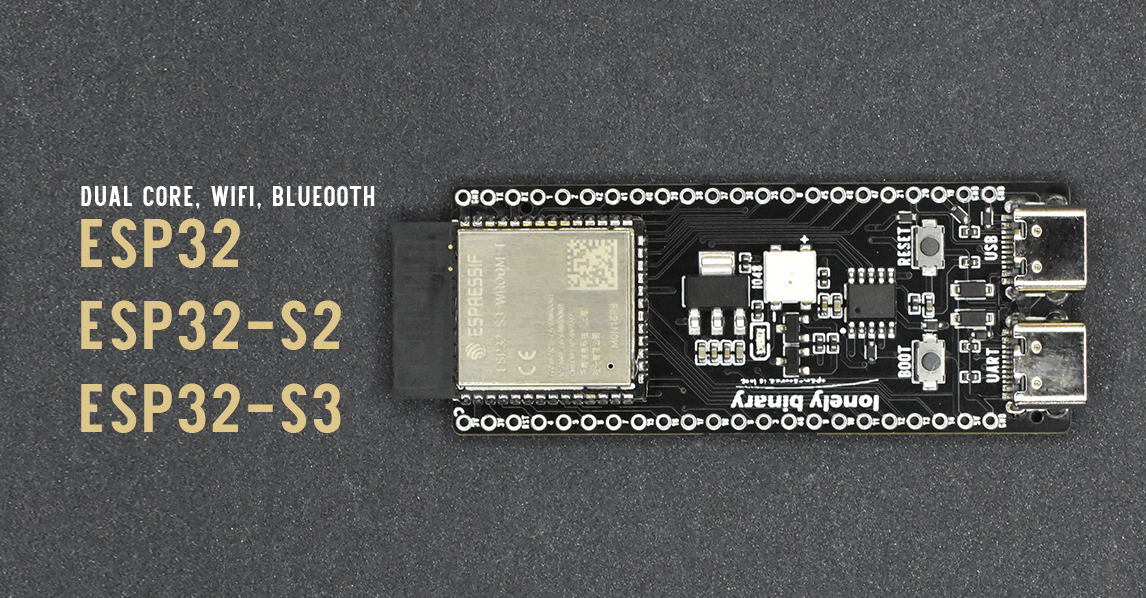
In the ESP32, hosting a web server is straightforward, allowing us to display data from the ESP32, such as sensor information, or even gather input from users. In this chapter, we will explore the capabilities of the ESP32 web server and its potential applications.

Create a new sketch and save it as “Web_Server.” In the Sketch menu, select “Add File” and add the “WiFiHelper.ino” file that we created in the WiFi Station Mode chapter. This will copy the file into the current sketch folder, and you should see it appear in the current tab. To verify, click “Show Sketch Folder” in the Sketch menu.
![[../images/Pasted image 20250126184252.png]]
Verify that the ESP32 can connect to your local WiFi by using the following basic code. You can view the ESP32’s IP address in the Arduino Serial Monitor.
```cpp
void setup() {
Serial.begin(115200);
connectToWiFi();
}
void loop() {
}
```
![[../images/Pasted image 20250126185253.png]]
Let’s set up a web server. When a client accesses the ESP32’s homepage, it will display “Lonely Binary.”
```cpp
#include
//WebServer run at default HTTP Port 80
WebServer webServer(80);
// HTML content
const char* htmlContent = "
```
This line includes the WebServer library, which is used to create and handle the web server. This library simplifies setting up a web server on ESP32.
```cpp
WebServer webServer(80);
```
This creates an instance of the WebServer class and sets it to listen on port 80, the default port for HTTP.
```cpp
const char* htmlContent = "
Project Web Server - Hello World
RELATED ARTICLES
Photoresistor Sensor
Project - Temperature Measurement
NTC Temperature Sensor
Project - IR Sender
Project - IR Receiver
Remote infrared Sensor
Project - Motion Detection Alarm
- Choosing a selection results in a full page refresh.

